Everything on the Internet whether it be application code or content needs to be fetched from a server somewhere. So with 'going serverless' being the latest trend, you may be asking yourself how you can have an application that is completely serverless. The main difference with serverless is that the management and operations of the infrastructure are abstracted. This abstraction allows developers to focus on development and building apps that deliver value to the end users faster. This way, you don't have to deal with the fuss of managing, maintaining, scaling, or provisioning servers. That's where hosting in Azure Storage comes in.
Note: If you're on AWS, check out our tutorial on Hosting a Frontend Application in AWS with Terraform!
Website Hosting with Azure Storage
As organizations strive to become more Agile and innovate faster, the ability to deliver web content without the need for server management has become even more critical. With the recent introduction of static website hosting in Azure Storage, you're able to leverage a serverless architecture that integrates with backend capabilities like Azure Functions and other PaaS services. This new capability offers a cost-effective and scalable solution, especially when compared to running an App Service instance. Hosting in Azure Storage costs less than a dollar per month compared to an App Service instance which would set you back $40 per month.
Although this simplifies a lot of work, it should be noted that the feature is currently in "public preview" which means that it is excluded from any SLAs and warranties, may not include customer support or be brought forward into General Release status.
Despite the current state of this feature, the alternative is using Blob Storage and the traditional approach which presents its own challenges, such as:
1. Not automatically setting the correct Content-Type based on a file's extension. As such, additional logic may be required in the CI/CD pipeline process to map file a file's extension to the correct Content-Type before uploading it.
2. URL requests that do not explicitly include a file name will result in a resource not found exception. For example, requests to https://mywebsite.azureedge.net/ will fail as Blob Storage does not serve a default file. So instead, the request would have to include a reference to the index file for it to succeed such as https://mywebsite.azureedge.net/index.html. A work around would be to use a Premium CDN provider and create a redirect rule(s) to map directory paths to a default file.
Enabling Storage Preview
Did you know that every Microsoft service also uses blob storage for data persistence under the hood?
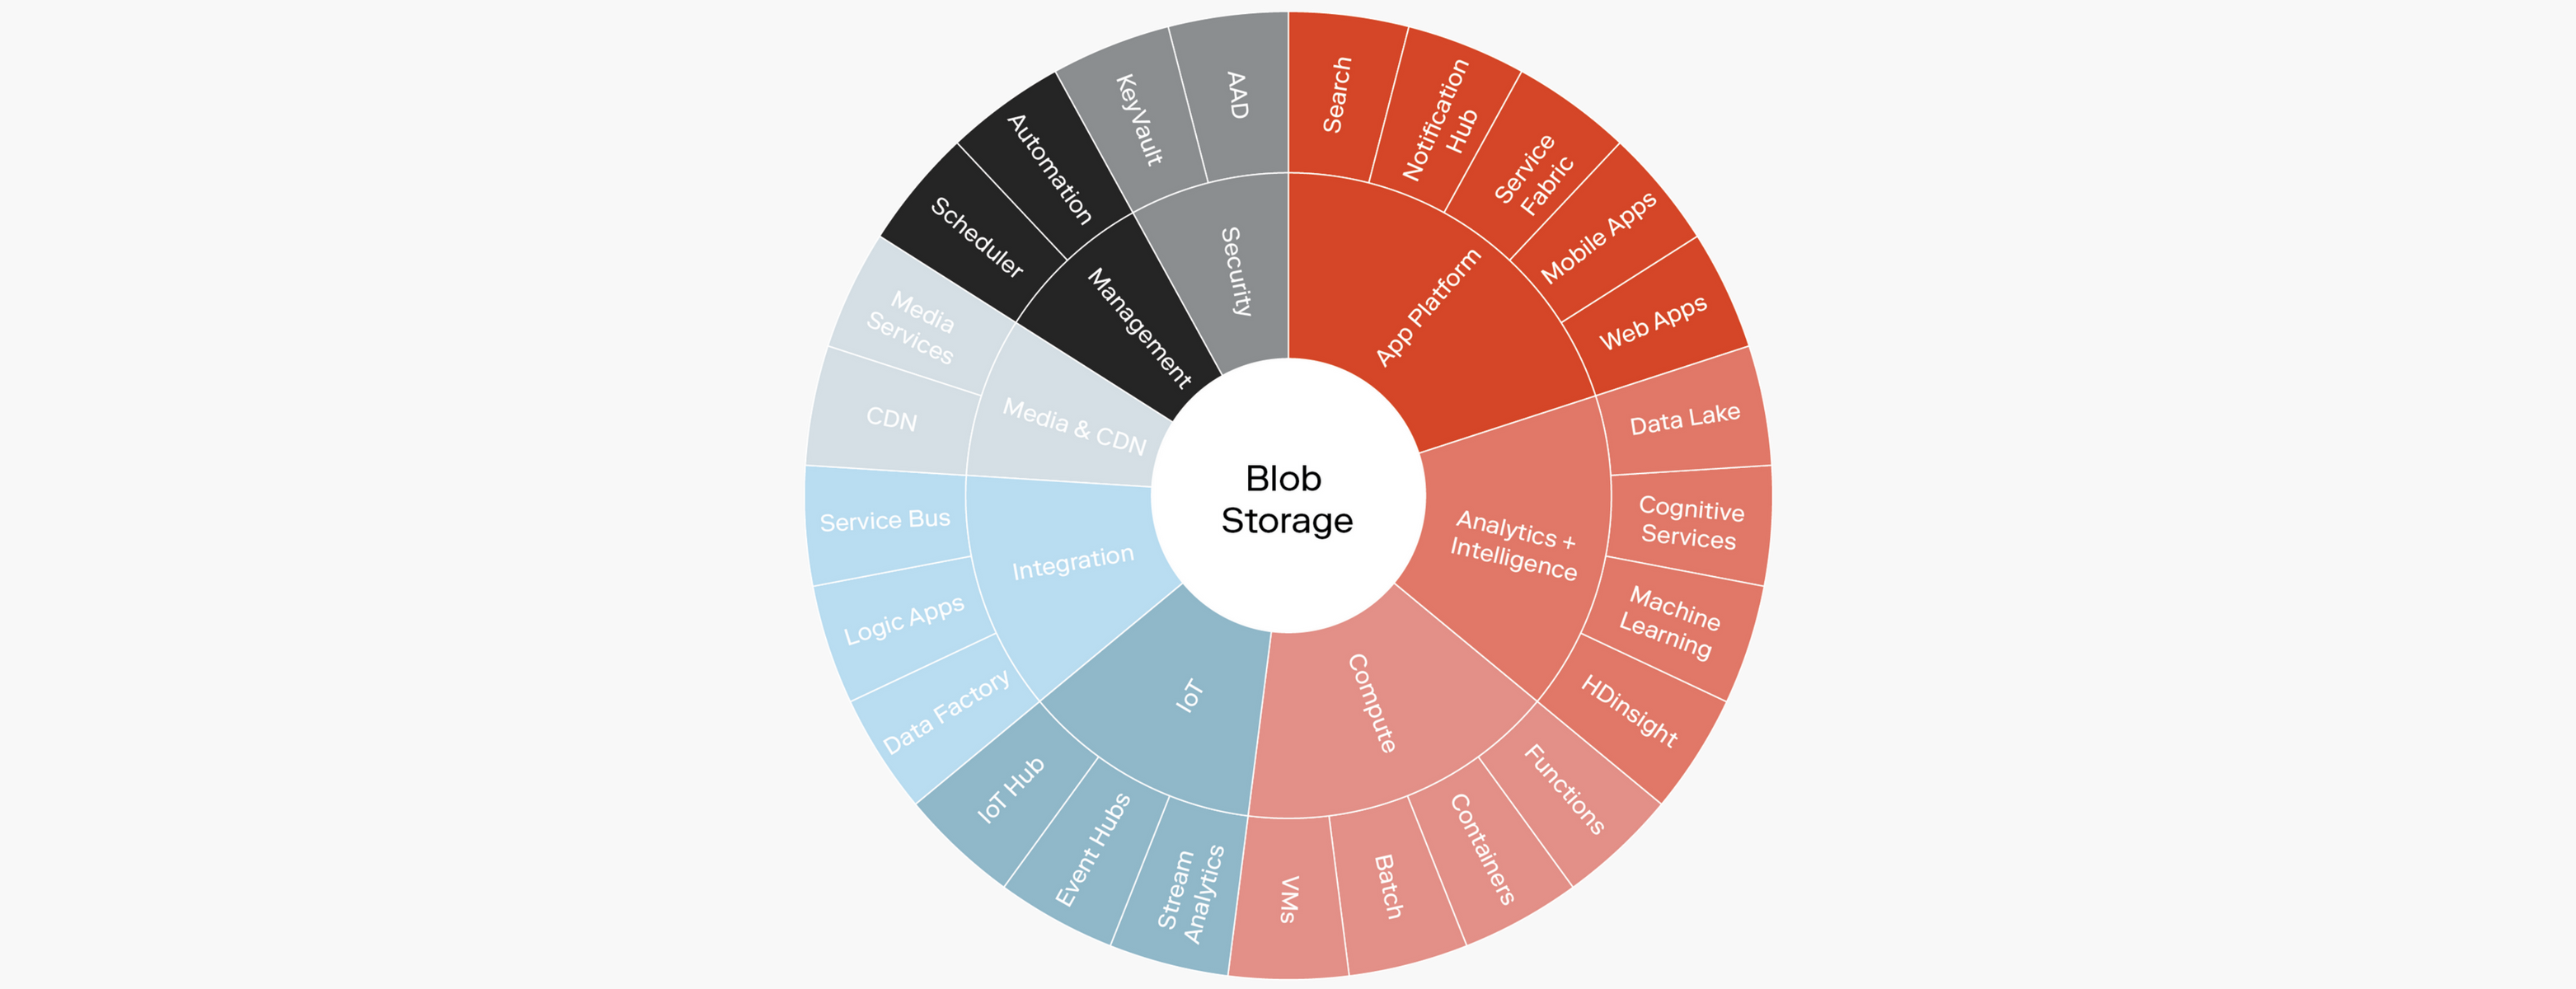
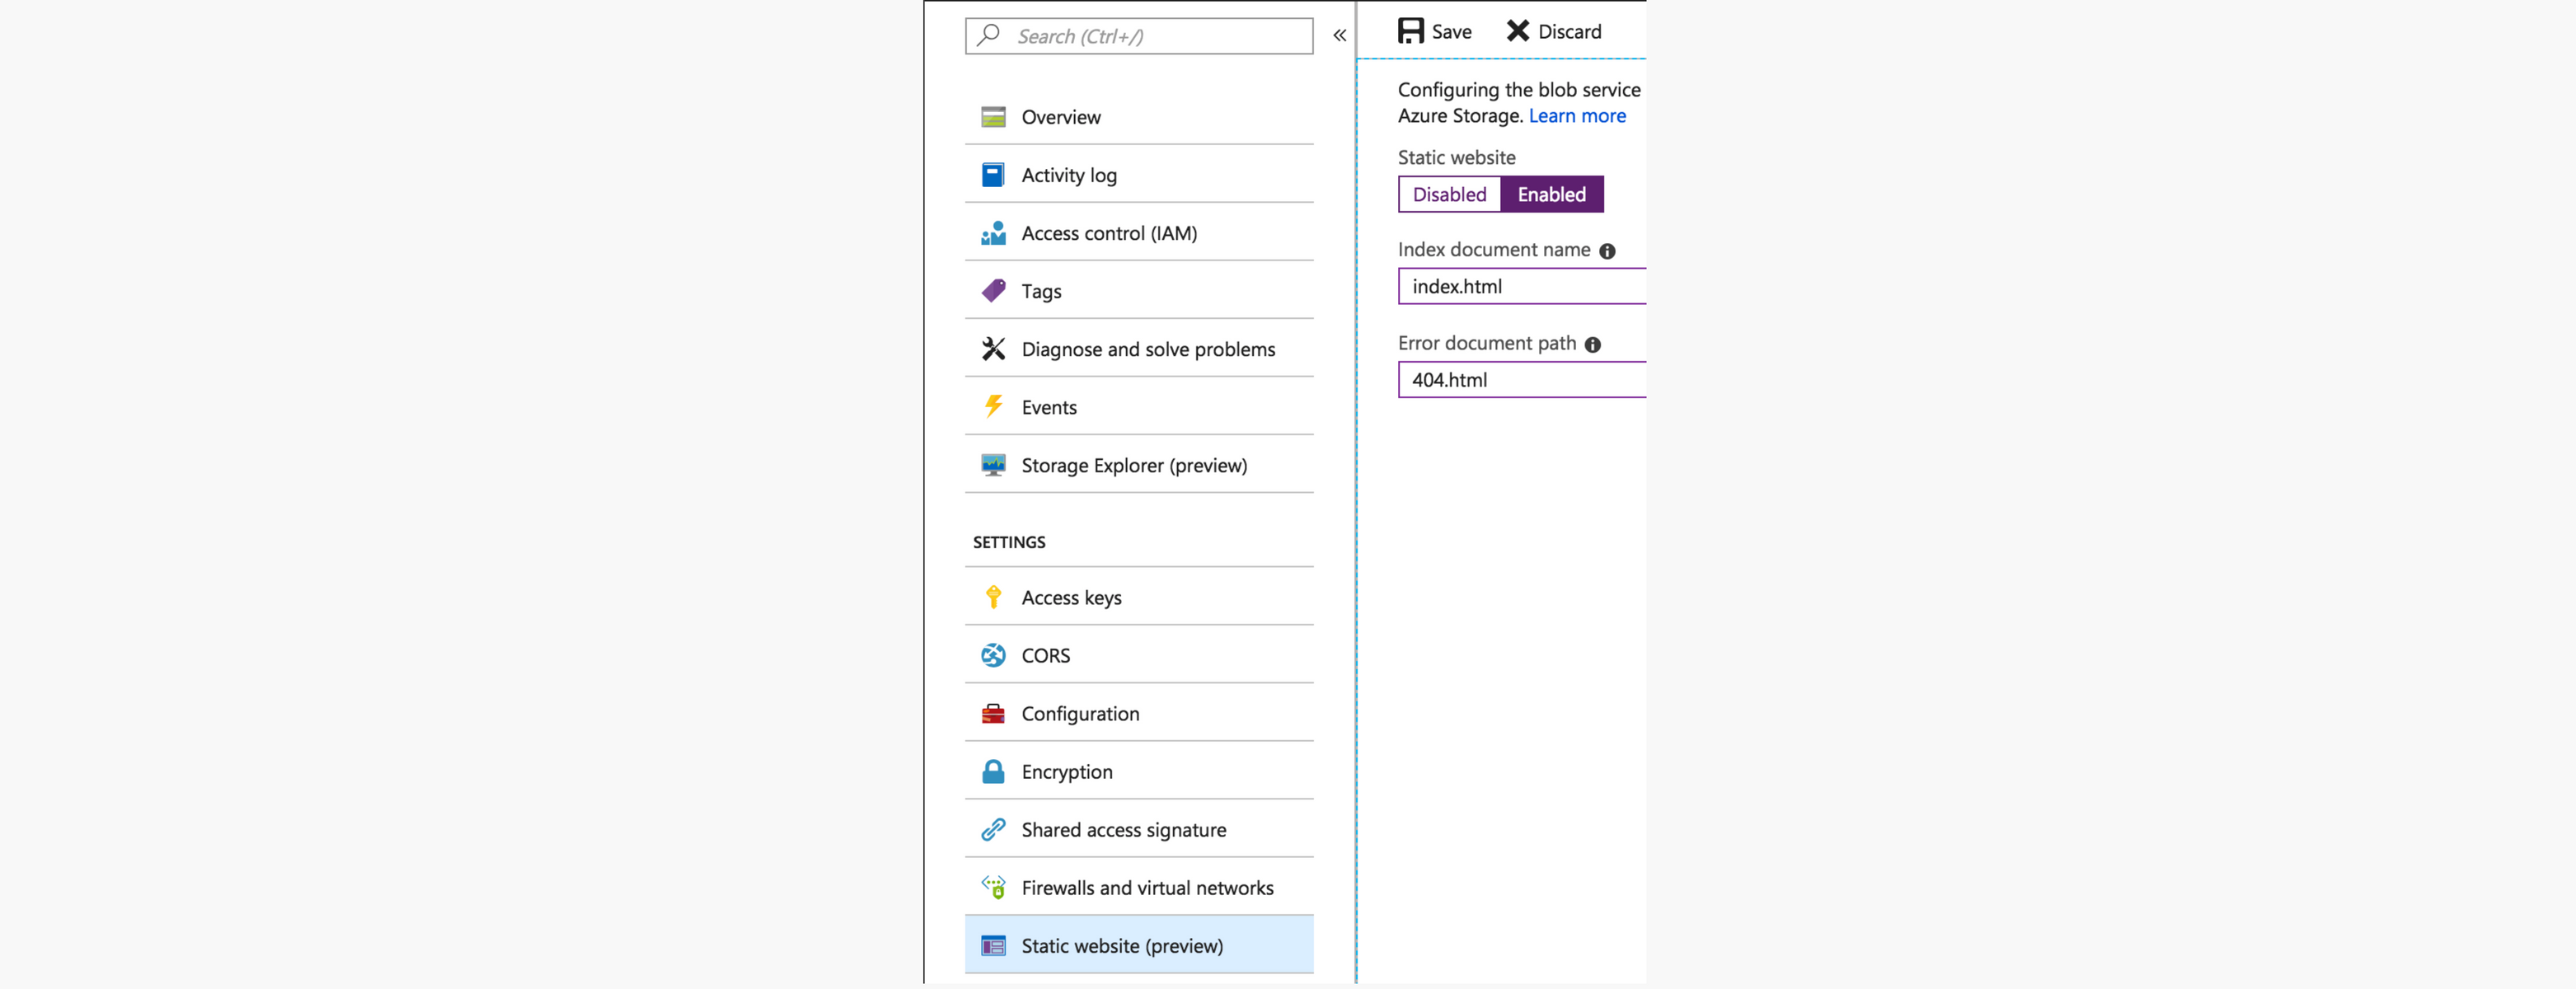
So why not leverage the same when building out serverless for your web application? Enabling the static website feature in Azure Storage is really quite simple. To get started you will need to create or use an existing GPv2 storage account. Under that storage account, you will now see a new option in the left navigation menu labeled "Static website (preview)". Click Enabled and provide the name of the index document and the custom error document path.
Within minutes you will have a new web service endpoint created.
The name of the endpoint will be similar to the following: <account-name>.<zone-name>.web.core.windows.net.
By default, the endpoint allows anonymous read access. This can be restricted to a specific set of IP addresses or CIDR ranges through firewall rules, however in doing so it also eliminates the option to integrate with a CDN.
A $web container, note the literal dollar sign as it could be interpreted as a notation for a variable called "web". In this case however, the container name is literally "$web". This will be used to store web assets which can be uploaded using the web portal, Azure CLI, or through code using the Azure Storage SDK.
Infrastructure Automation
Another approach to enabling storage preview is through infrastructure-as-code using Azure ARM templates or other tools like Terraform.
For this post, we will use Terraform. Since the static website feature is new and in public preview, Terraform does not have published resources available that we can use to enable it. As such, this will be a good opportunity for us to look at building a custom module.
Before getting started, be sure to have the following installed:
And create an Azure service principal for this to work.
In our case, we will create a module that leverages the Azure CLI using the null_resource provisioner. The null_resource is a resource that allows us to configure a provisioner that is not directly associated with an existing resource and it behaves exactly like any other resource. Thus, you can configure provisioners, connection details, and other meta-parameters on top of this resource as needed.
You can see an example of how this was done here or clone it using the link below.
git clone git@github.com:rangle/tutorial-azure-storage-preview.git
Once you are ready, review the README and create the variables input file terraform.tfvars with the access details and preferred settings.
Then execute the following to provision the resources:
terraform initterraform planterraform apply
Once the container is in place, try uploading some content to validate that everything is working as expected.
Here is a sample react app that you can use for testing:
git clone git@github.com:rangle/tutorial-react-site.git- Update
src/App.jsand replace "[Your name]" with your name - Run npm install -g yarn
- Run yarn install
- Run yarn build
- Website content can found in the build directory.
To upload content using Azure Portal, go to:
Storage accounts > [your_account] > Blobs > $web > Upload
If you prefer to use the Azure CLI:
az storage blob upload-batch -s [build_directory] -d \$web --account-name [your_account]
Test the site by going to the AZURE_CDN_ENDPOINT or AZURE_WEB_ENDPOINT. You can get both of these endpoints from the output of Terraform apply in the previous steps above. Use the AZURE_CDN_ENDPOINT if you want to have edge caching with a CDN. Use the AZURE_WEB_ENDPOINT if you don't need a CDN and want to minimize costs.
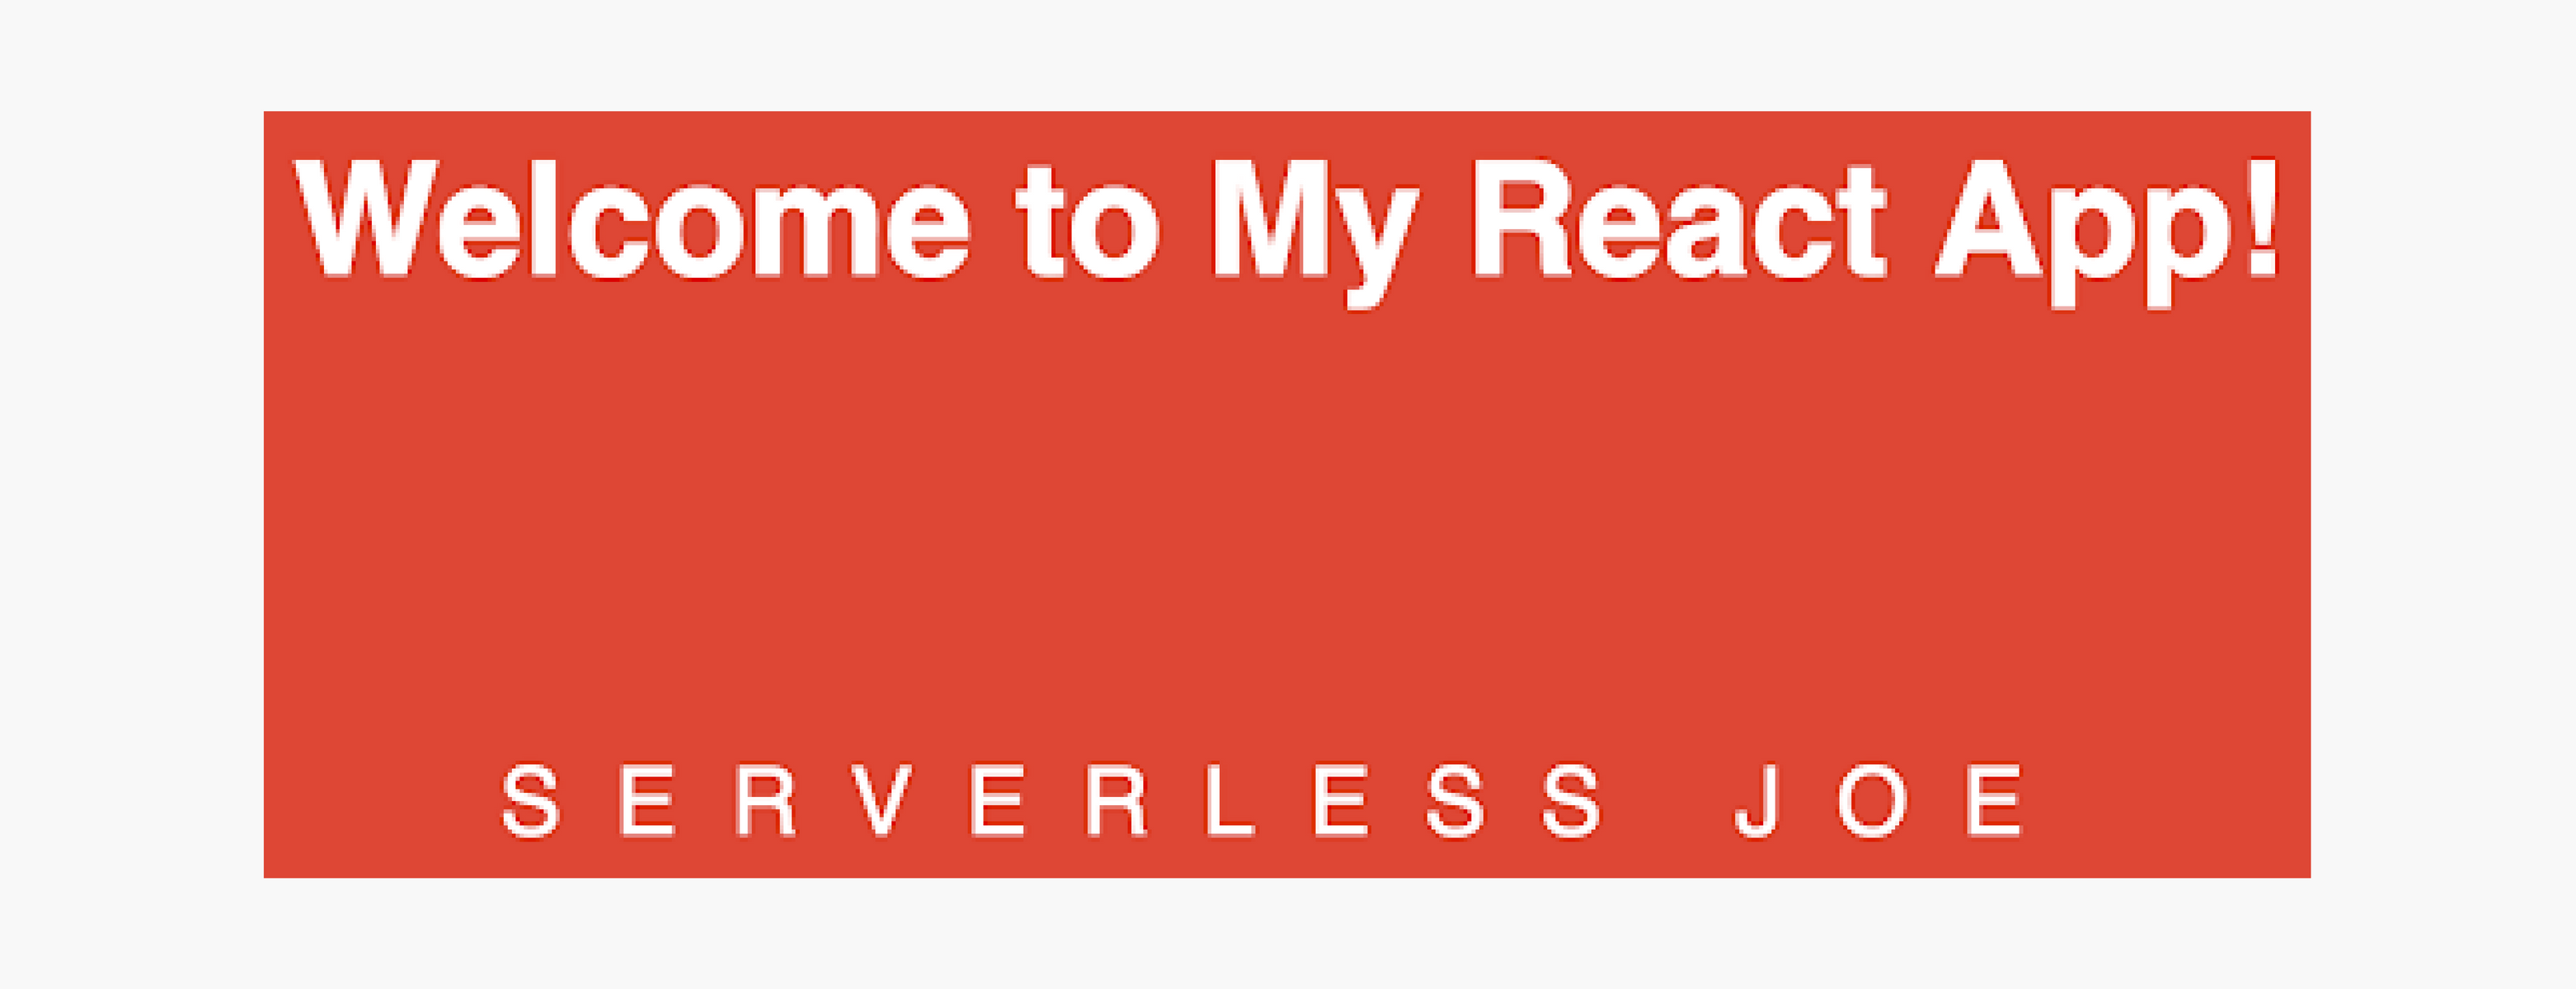
React! You now have a fully hosted site running for only a few dollars per month.
Summary
By using these ideas and looking ahead to modernizing single-page applications, such architectures will remove the need for traditional always-on server components. With serverless architectures, you can benefit from significantly reduced operational cost, complexity, and engineering lead time.
Take your project to the next level and build apps faster by integrating with other serverless backends like Azure Functions and Azure Logic, or enhance your site by leveraging Cognitive Services for things like image or language recognition. So go ahead and start exploring how you can make your applications serverless!