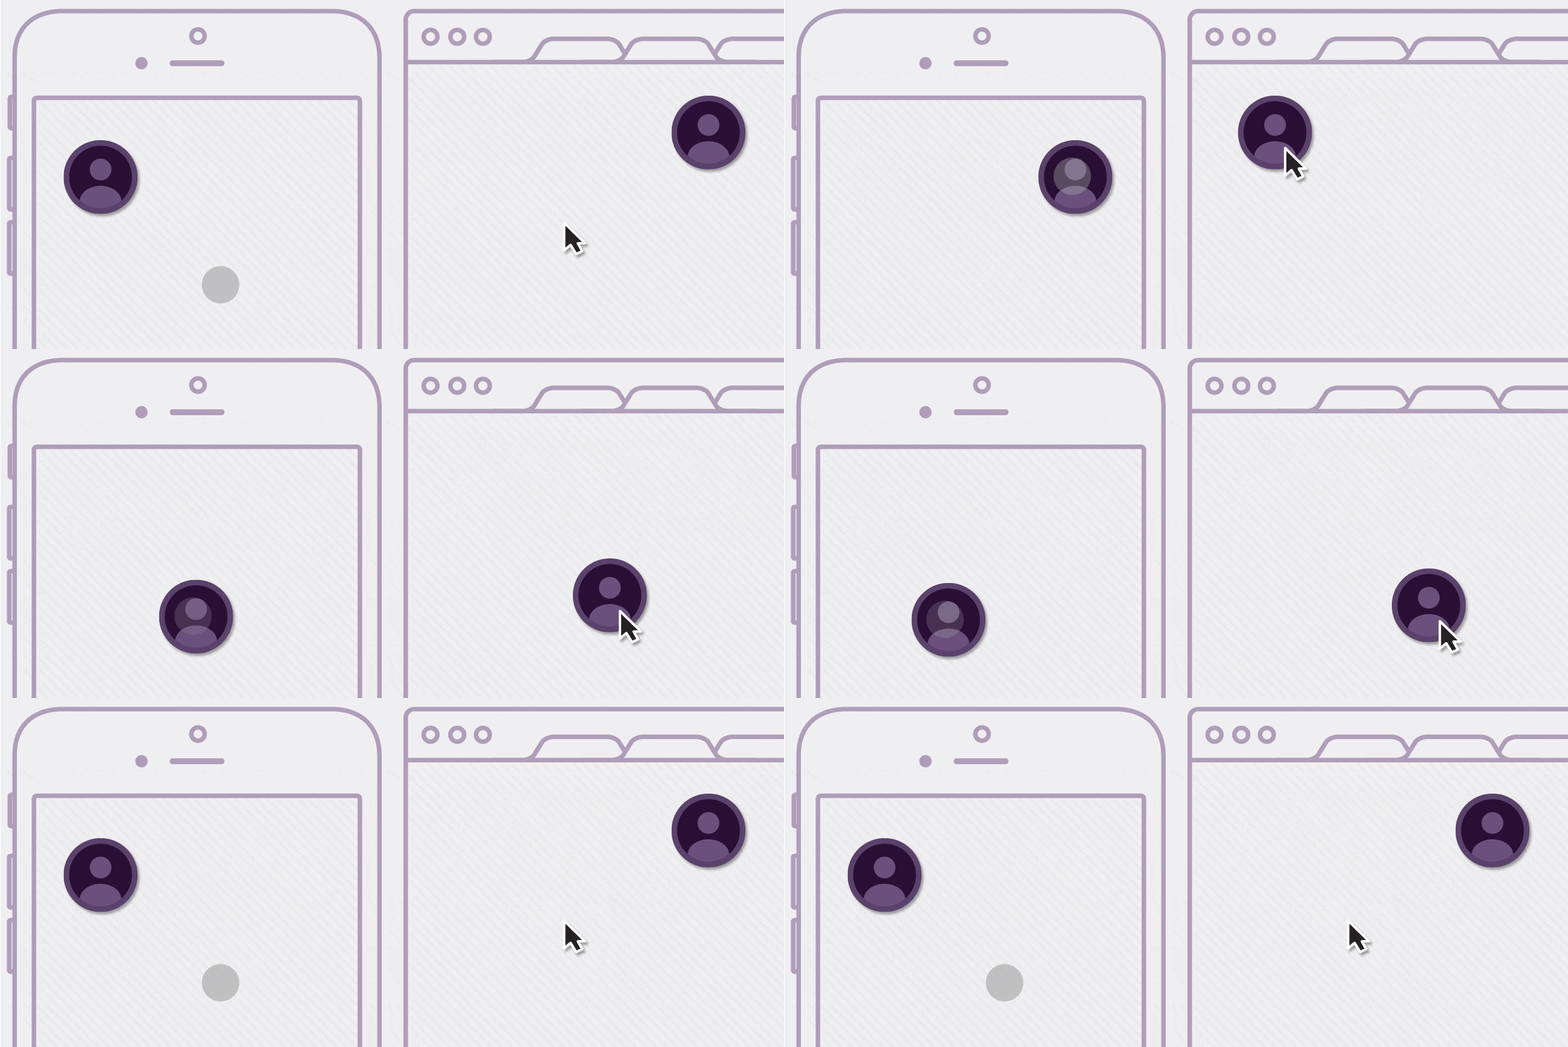
If you have built a web app in the past few years, you've probably had to deal with touch events. In many cases this was limited to handling tap and removing that pesky 300ms delay. However with touch devices becoming more powerful, we now have to implement more complex gestures— gestures that work for both mouse and touch.

In this post we will walk through the process of implementing one such gesture– pan. I will demonstrate this by building a draggable chat-head component.
Note: This will not be the most robust implementation of a draggable component. It is intended to demonstrate how one would handle touch and mouse event simultaneously.
This example consists of three components:
1. App Component
The root node of the application.
function App() {
  return (
    <Draggable>
      <ChatHead
        src="https://s3-us-west-2.amazonaws.com/s.cdpn.io/149125/profile.jpg"
      />
    </Draggable>
  );
}
2. ChatHead
A stateless component that renders a circular avatar.
function ChatHead({ src, ...props }) {
  return (
    <img draggable="false"
      src={ src }
      style={{  transition: 'all 300ms ease-in-out' }}
      className="br-100 pa1 ba b--black-10 h3 w3"
      alt="chat head"
      { ...props } />
  );
}
3. Draggable
A stateful component for making components draggable. To achieve this, we start by wrapping children with a div. This will act as a draggable container.
class Draggable extends React.Component {

  constructor() {
    super();
    this.state = {
      x: window.innerWidth / 2,
      y: window.innerHeight / 2,
      dragging: false,
    };
  }

  onPanStart = e => { ... };
  onPan = e => { ... };
  onPanEnd = e => { ... };

  render() {
    const { x, y, dragging } = this.state;
    const { children } = this.props;

    return (
      <div draggable="true"
        className="dib move"
        style={{
          display: 'inline-block',
          cursor: 'move',
          WebkitTransform: `translate3d(${ x - 32 }px, ${ y - 32 }px, 0)`,
          transform: `translate3d(${ x - 32 }px, ${ y - 32 }px, 0)`,
        }}
        onTouchStart={ this.onPanStart }
        onDragStart={ this.onPanStart }
        onDrag={ this.onPan }
        onTouchMove={ this.onPan }
        onTouchEnd={ this.onPanEnd }
        onDragEnd={ this.onPanEnd}>
        { children }
      </div>
    );
  }
}
Pan Gesture
The pan gesture can be broken down into three stages: pan start, pan & pan end. On desktop these map quite nicely to the drag event handlers, while for touch devices we will have to use touch events. In the end we have three event handlers:
- Pan Start:
onTouchStart={ this.onPanStart }
onDragStart={ this.onPanStart }- Pan:
onTouchMove={ this.onPan }
onDrag={ this.onPan }
- Pan End:
onTouchEnd={ this.onPanEnd }
onDragEnd={ this.onPanEnd}>

Pan Start
The onPanStart handler is primarily responsible for setting the dragging state to true.
onPanStart = e => {
  if (e.type === 'dragstart') {
    e.dataTransfer.setDragImage(getDragImage(), 0, 0);
  }
  this.setState({ dragging: true });
};
When you drag an element on desktop you end up with a ghost image. This is known as the drag image. To get around this we can set the drag image to a fake 0px × 0px image.

function getDragImage() {
  let img = new Image();
  img.src = 'fake.gif';
  return img;
}
Pan
The onPan handler allows us to get the drag location and update the x, y coordinates in state. Again, we have to account for both touch and mouse events here.
onPan = e => {
  if (e.clientX <= 0 || e.clientY <= 0) return false;
  this.setState(getPan(e));
};
For drag events we just have one location for the mouse. Therefore, the drag location is e.clientX & e.clientY.
For touch events we receive a list of touches instead. In this scenario we only care about the first touch which is responsible for panning. We can access that at e.targetTouches[0].
function getPan(e) {
  if (e.type.includes('drag')) {
    return { x: e.clientX, y: e.clientY };
  }

  const touch = e.targetTouches[0];
  return { x: touch.clientX, y: touch.clientY };
}
Pan End
Finally, the onPanEnd handler is responsible for setting the dragging state to false.
onPanEnd = e => {
  this.setState({ dragging: false });
};
Here is the final result:
Pointer events
The upcoming Pointer events spec aims to unify all input devices – such as a mouse, pen/stylus or touch – into a single model. This will simplify the implementation process for us developers and allow us to provide a good user experience regardless hardware choices.
React & Redux Resources
For more on React, you can check out these informative videos and webinars, as well as previous blog posts. Better yet, we encourage you to inquire about custom training to ramp up your knowledge of the fundamentals and best practices with custom course material designed and delivered to address your immediate needs.

